Grit hissed and clattered off the hood of the small skimmer as it ploughed through billowing red clouds of oxide dust. The tandem craft buffeted like a leaf in a storm, jinking and swerving through a mangled sprawl of skeletal buildings and ducts.
Gales keened through the sector’s broken spires, stoking the rust clouds that threatened to choke the Tetra’s engine intakes. The spotter’s grip tightened on the craft’s side, scanning his holoscreen as his comrade doggedly steered towards the faint blip of the basecamp homing beacon. They had to tell the others what they’d seen…
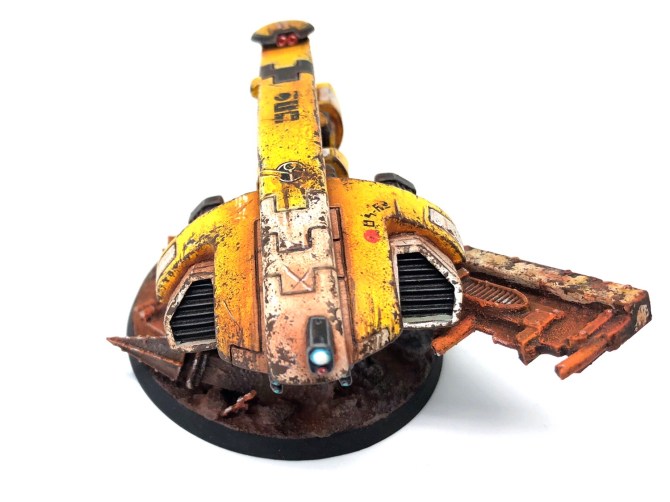
Welcome back reader. This week we have a miniature I started in 2015 but only finished recently (some of our long-standing Instagram follower may even recognise it!). It is, of course, the beautiful T’au Pathfinder Tetra.
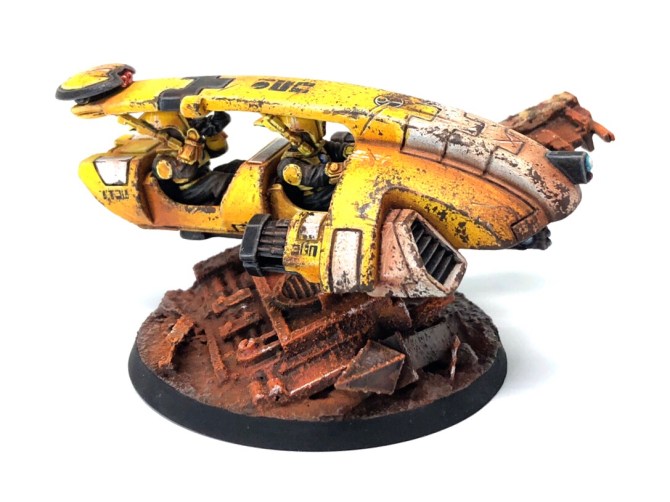 This is the first of a two vehicle squad, Pathfinder Tetra Team Darkshoal – a perfect addition to my Shining Path Infiltration Cadre.
Once I’d settled on my colour scheme (more details on my recipe in a forthcoming post) I was eager to apply it to a vehicle. I’m a big fan of the Tetras, and despite them being quite old kits now, I love how they unite the T’au design elements of the Pirahna and Devilfish with their role as a light reconnaissance vehicle.
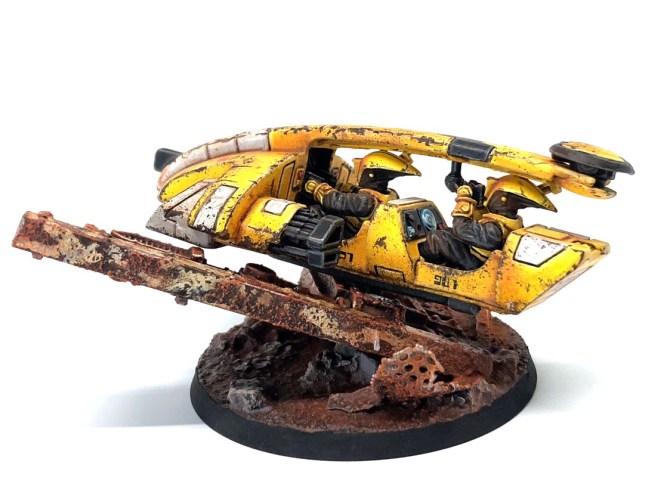
To tie the Tetra in with the rest of my Infiltration Cadre I used plastic Pathfinder heads for consistency.
Assembling the kit.
For anyone looking to assemble a Tetra I recommend not glueing the top piece to the chasssis if you want to paint the crew separately. I didn’t do this and really struggled to place the crew in after painting them!
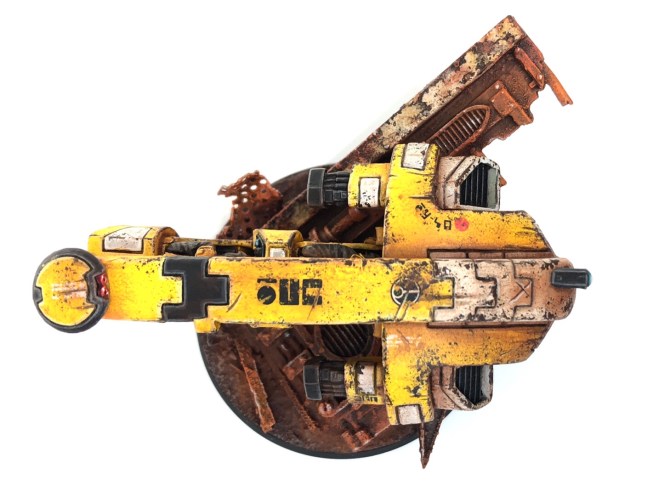
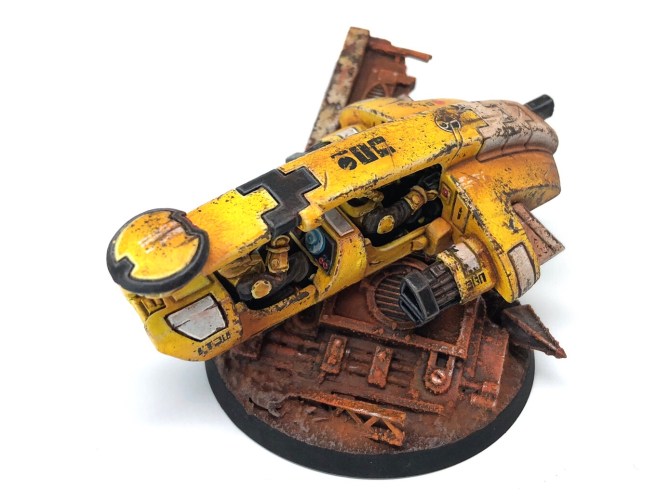
This was my first attempt at applying transfers and weathering. I’m pretty happy with the effect. I love how integral these decals are to the paint scheme of the craft.
How to apply transfers
1) Laying the groundwork. Apply gloss varnish or ‘Ardcoat to the area(s) you want to place your transfers. This creates a smooth surface and protects the underlying paintwork – very important!
2) Prepare your transfers. Use a sharp craft knife to cut out the transfers you need. I recommend you leave room around the side of the transfer so you can handle it with tweezers later and not risk damaging it. Place the transfer face up on a saucer or clean palette and soak them in Decal Fix / Transfer Solution applied with a soft brush (I use Humbrol Decal Fix but Microsol is also good.) Leave the transfer to loosen from the backing paper for a few minutes. You’ll know it’s ready when it begins to slide on the backing paper when gently nudged with a damp brush.
The solution will begin to slowly dissolve the transparent film around the transfer too – this really helps it blend into the miniature.
3) Apply the Transfer. Add some Decal Fixer to the area where you previously applied the gloss varnish. Next, use a wet brush or pair of tweezers to bring the transfer (still on its backing paper) to the area. Gently use a damp brush to slide the transfer off the backing paper and into place. Keep plenty of Decal Fix on the area in order to easily position the transfer. Once you’re happy let the solution dry.
4) Blending the Transfer. Optionally you can apply extra coats of Decal Fix to the transfer. This melts away the transparent film that the transfer is printed on, truly blending it to the underlying layers.
5) Sealing the transfer. Once the Decal Fix has thoroughly dried, seal it with a coat of gloss varnish. This locks the transfer in place. Finally apply a layer of matte varnish or Lahmian Medium to remove the gloss. At this point your transfer should look completely integrated into your paintwork.
I also want to make as shout out to @ for sending me the Tau transfers I used here. I put out a request on Twitter and he was kind enough to post these for free all the way from Sweden. It’s things like this that make you appreciate the genuine community spirit we have within our hobby!
The base was converted out of Sector Imperialis parts, plasticard, tubing and rocks. I wanted to give the impression that the craft is jinking through the ruins, hovering mere inches above the ground
Weathering powders
I used a sponge and brush to add chipping and battle damage. I then finished off with Foregeworld’s Aged Rust weathering powder. I wanted the Tetra to look like it had survived a rust storm and focused the powder where dust would naturally clog and accumulate (such as near the engine vents).
Come back soon for more new miniatures and perhaps a bit more backstory about the ill-fated T’au planetfall on Xerica.

Very nice bloog you have here
LikeLike
I love the heavy wear and tear on vehicle. Very gritty.
LikeLike